
Import a Spatial Index
Import a Spatial Index
Perform the following steps to import a Spatial Index.
You must be a Project Administrator to import a Spatial Index.
To import a Spatial Index
Start by creating a Spatial Index from the template or exporting Spatial Index information from Revit.
Select Administration > Module Configuration from the Spatial Index module.
In the Import Spatial Index section, select Import Index.
Select Browse and navigate to your .txt file.
In Chrome, Browse is replaced by Choose File.
Select Upload.
In the File column, map each of the Cloud attributes to the .txt file’s corresponding column heading, as shown below: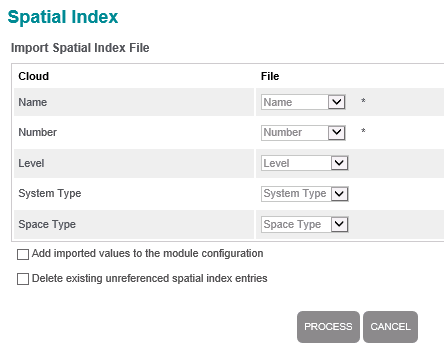
Select the Add Imported Values to the Module Configuration check box if you want those items to be added to the Module Configuration and to the lists in the right side navigation panel.
Select the Delete Existing Unreferenced Spatial Index Entries check box if you want to remove unreferenced items from your index.
Select Process.
If your index imports correctly, you will see a green bar with the number of spaces imported. Cross-check the number with your Excel file.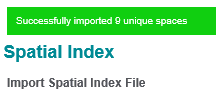
If your index does not import correctly or if the number of spaces is incorrect, review the instructions for creating and importing your index, adjust your index, and re-import.
If this page is blank, clear your help filter to view topic content.