
Add a Shared Folder
Add a Shared Folder
Perform the following steps to add a shared folder to a project.
You must be a Project Administrator to add a shared folder.
For guidelines on creating shared folders, see Shared Folder Setup Guidelines.
If you are not already there, select Document Management > Shared Folders to open the Shared Folders module, shown below.
Select the main project folder or the subfolder that will contain the new folder.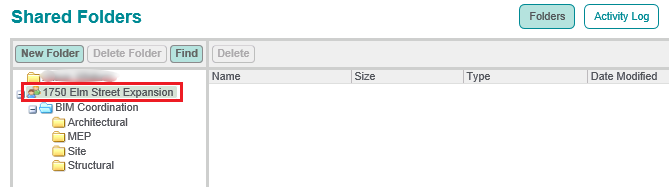
Click the New Folder button in the upper left corner.
Enter the Title of the shared folder and press Enter.
Avoid lengthy folder names and file names. The total length of the folder+file name cannot exceed 255 characters.
Avoid lengthy folder and file names. Folder and file names longer than 30 characters are trimmed to a 30 character limit when the project is archived.
Special characters cannot be used in folder and file names. For a list of characters to avoid, see Shared Folder Setup Guidelines.
If the folder is within the first tier of folders under the main project folder, right click on the folder and select Edit Permission Settings from the popup menu.
On the Shared Folders Permission Settings page, select the permission settings for each user role and for individual users. If a folder is a subfolder of a first tier folder, it inherits the same permissions as the first tier folder.
If you use the permissions checkboxes in the user group lines (the bold role names), those settings are used for that entire user group and also for future members of that user group. For example, if all Architects have Move/Rename/Delete privileges and you add a new architect, they will also have Move/Rename/Delete privileges.
Click Save at the bottom of the page to save your changes.
If this page is blank, clear your help filter to view topic content.